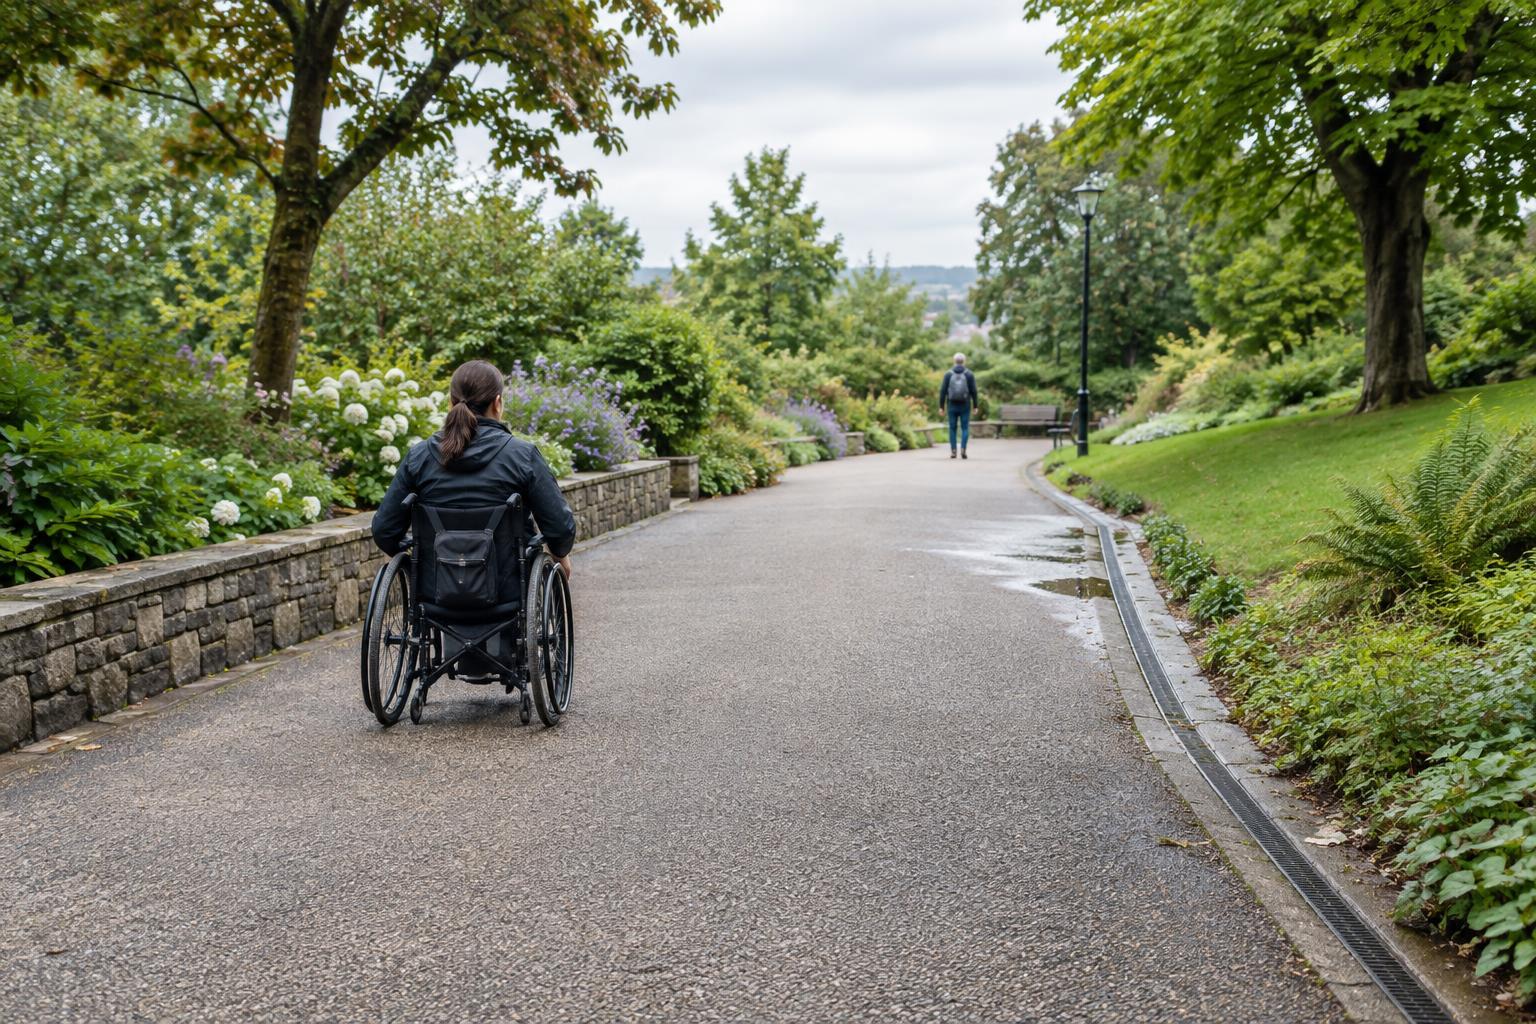
Start with the whole journey
An outdoor path is more than the strip of ground between two doors. Its usefulness depends on where it begins and ends, how it connects to parking or public transport, and whether someone can follow it without encountering an unexpected obstacle. Walk the route in both directions, including its entrances, crossings, turns, and transition onto indoor flooring. A path that works on its straightest stretch may become difficult at a gate, a drain cover, or the final approach to a door.
Consider people who use wheelchairs, walkers, canes, or strollers, as well as people who need more time to move or benefit from a predictable route. Observe the path at a normal walking pace, then pause to look for details that are easy to miss: a branch at head height, a bin placed in the clear route, or a change in paving that is hard to see. Record the location of each concern rather than relying on a general impression that the path is “accessible.”
Look at slope in more than one direction
Slope has two parts worth assessing. The running slope rises or falls along the direction of travel; the cross slope tilts from one side of the path to the other. A gentle-looking route can still be tiring over a long distance, while a sideways tilt may make steering or balance harder. Check for short steep patches at thresholds, crossings, and places where a path meets an older surface. These abrupt changes can matter as much as the overall gradient.
Where a route climbs, look for places to pause without blocking others. On a descent, consider whether the surface provides reliable grip and whether a person has room to control their pace. Avoid assuming that a route is comfortable simply because a person can get through it once. If a path is being designed or substantially altered, use the accessibility requirements that apply locally; a visual review is a useful starting point, not a substitute for measuring slopes.
Check usable width, not just paved width
The paved area is not always the space people can use. Planting, signs, furniture, parked bicycles, snow piles, and doors that swing over a path can narrow the clear route. Measure or note the narrowest points, especially where someone might need to turn, pass another person, or wait. A route may feel generous in the middle but become awkward beside a wall or at a sharp corner.
Think about what happens when two people meet. Can they pass comfortably, or is there a suitable place for one person to wait? If the path borders a drop, planting bed, or vehicle area, notice whether its edge is easy to identify and whether there is enough room to travel without feeling pushed toward it. Keep the intended clear width available during everyday use, not only when the site is newly opened or freshly tidied.
Assess surfaces under real conditions
A useful walking surface is firm, stable, reasonably even, and predictable. Loose gravel, shifting pavers, raised roots, wide joints, and sudden level changes can make movement harder. Look for places where wheels or cane tips might catch, and where repairs have created a patchwork of heights or textures. Decorative materials can be attractive, but appearance alone does not show how a surface will perform after wear.
Grip and visibility also matter. A surface that feels secure when dry may become slippery after rain or when leaves collect. Strong patterns or glare can make edges and changes in level harder to distinguish for some people. Check the route in the conditions it is likely to face, if possible, and plan for routine upkeep. Keeping joints sound, vegetation trimmed, and loose material off the path can be as important as the original material choice.
Follow the water and plan the next check
Drainage affects both comfort and durability. Look for low spots where water gathers, runoff crossing the walking line, and downspouts that discharge onto the route. Ponding can hide uneven ground; repeated water flow can move loose material or contribute to surface damage. Drainage channels and grates also need attention: their placement and openings should not create a new obstacle while solving a water problem.
Finish the review with a short, usable record. Note what works, what needs measurement, and which issues appear only during rain or seasonal maintenance. Photos taken from the direction of travel can help others understand a concern, especially at a turn or transition. Prioritize problems that interrupt the continuous route, then arrange for the appropriate design or maintenance review. Revisit the path after changes are made: accessibility is an ongoing condition of the journey, not a one-time label.